Homemade Pumpkin Frozen Yogurt: The Easy Fall Treat
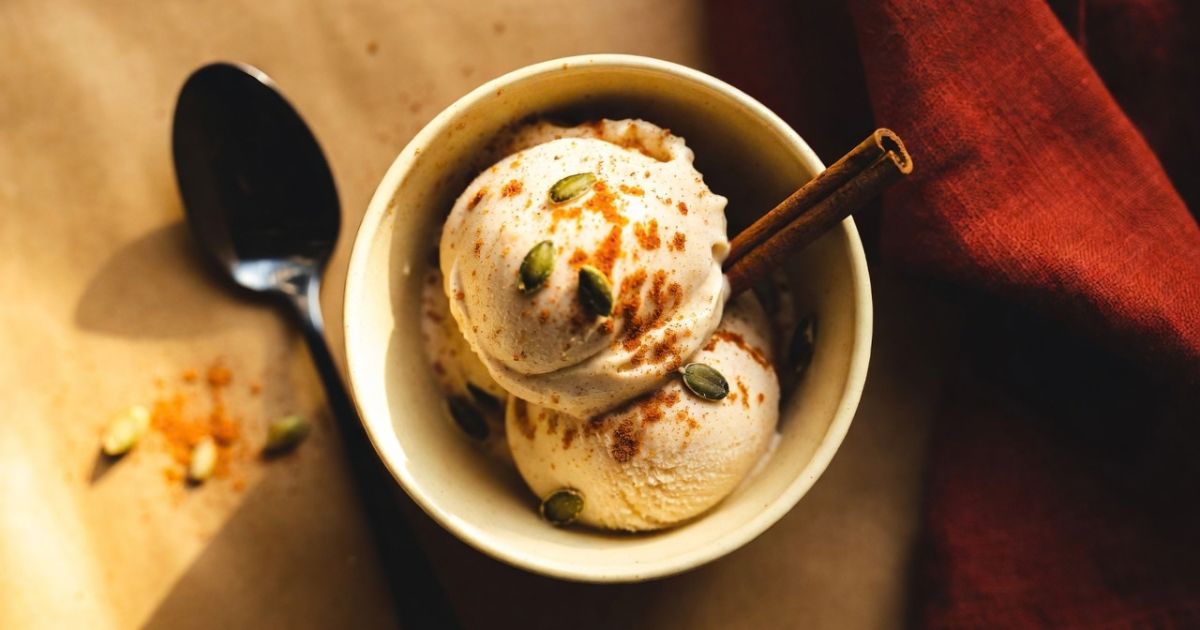
Learn how to make homemade pumpkin frozen yogurt with simple ingredients, no fancy equipment required, and tips for the creamiest texture every time.
Table of Contents
Homemade Pumpkin Frozen Yogurt: The Easy Fall Treat
You want pumpkin spice season without another slice of pie sitting in the fridge. Homemade pumpkin frozen yogurt gives you that same warm, spiced flavor in a cold, creamy scoop that actually feels like a treat instead of dessert overload.
The best part? You don’t need an ice cream maker, a culinary degree, or a long shopping list. Just yogurt, pumpkin, a few pantry staples, and a little patience while it freezes.
By the end of this guide, you’ll know exactly how to make it, what to use if you don’t own any special equipment, and how to keep the texture soft and scoopable instead of rock hard.
What You Need for Pumpkin Frozen Yogurt
Homemade Pumpkin Frozen Yogurt
Ingredient Balance
Tap an ingredient to see its exact amount and its share of the measured base.
Percentages cover the five measured ingredients above, converted to a common unit (1 cup = 16 tbsp, 3 tsp = 1 tbsp) so cups and teaspoons can be compared fairly. Salt and the optional cream are shown separately since a “pinch” has no fixed volume and the cream/cheese addition is optional.
This recipe leans on ingredients you probably already have once fall baking season hits.
- 2 cups plain Greek yogurt (whole milk works best for a creamier result)
- 1 cup pumpkin puree (make sure it says “pure pumpkin,” not pumpkin pie filling)
- 1/2 cup maple syrup or honey (or 3/4 cup granulated sugar if you prefer)
- 1 teaspoon pumpkin pie spice
- 1/2 teaspoon vanilla extract
- A pinch of salt
- 2 tablespoons heavy cream or softened cream cheese (optional, for extra smoothness)
Full-fat Greek yogurt gives you a richer, less icy result than nonfat. If you only have nonfat on hand, the cream or cream cheese addition helps make up for it.
Equipment Options: With or Without an Ice Cream Maker
You have two solid paths here, depending on what’s in your kitchen.
If You Have an Ice Cream Maker
This is the easier route. Mix your base, chill it, then pour it into the machine and churn according to your maker’s instructions, usually 20 to 25 minutes. The constant churning keeps ice crystals small, so you get that soft-serve texture right out of the machine.
If You Don’t Have One
There’s nothing the machine can do; you don’t need it for this. Simply pour your mixture into a wide freezer-safe dish, so that it will freeze quickly and evenly. Do this every 30-45 minutes until it freezes thoroughly – usually this is done three or four times within a period of three hours. Then leave it to harden in the freezer overnight.
Pro tip: A shallow metal baking pan freezes faster than a deep plastic container, which means fewer ice crystals and a smoother finished product.
Step-by-Step Recipe
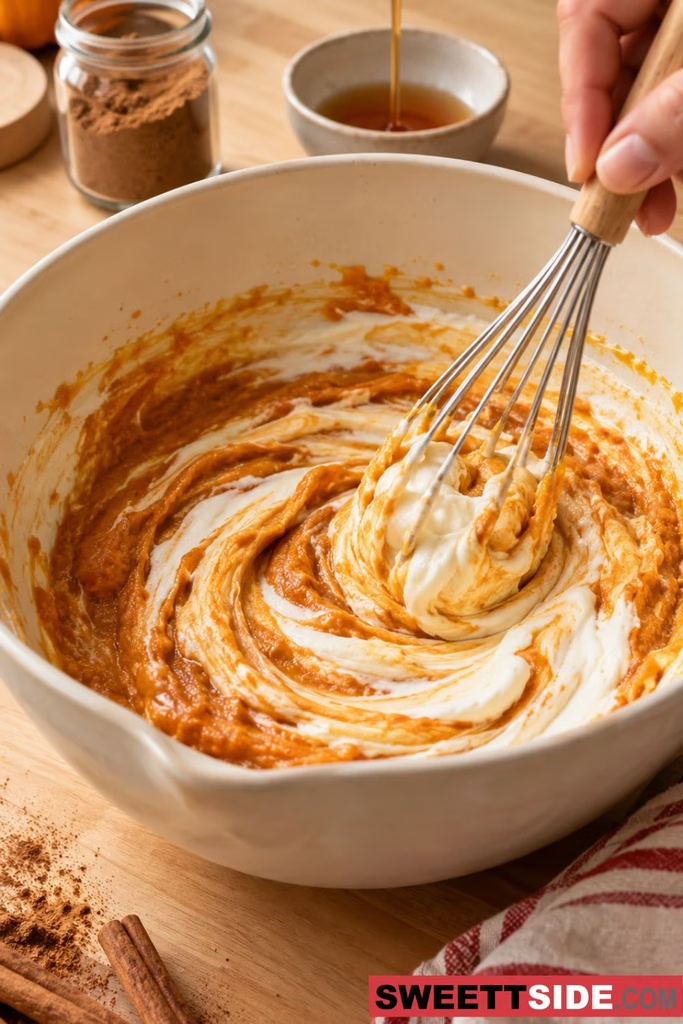
- Combine the wet ingredients. In a large bowl, whisk together the Greek yogurt, pumpkin puree, maple syrup (or honey), and vanilla extract until fully smooth.
- Add the spice and salt. Stir in the pumpkin pie spice and a pinch of salt. Taste and adjust sweetness here, since the mixture will taste slightly less sweet once frozen.
- Mix in the cream or cream cheese, if using, until fully incorporated with no lumps.
- Chill the base. Cover and refrigerate for at least 30 minutes. A cold base freezes faster and more evenly.
- Churn or freeze. Use your ice cream maker as directed, or follow the no-churn method above.
- Transfer to a storage container once it reaches a soft-serve consistency, then freeze for at least 4 hours, or overnight, until firm.
- Let it sit at room temperature for 5 to 10 minutes before scooping, so it softens just enough to serve easily.
Tips for the Best Texture
Frozen yogurt has a reputation for turning into an ice block, but a few small choices prevent that.
- Use full-fat yogurt when possible. Fat slows ice crystal formation, keeping things creamy.
- Don’t skip the sweetener. Sugar (in any form) actually lowers the freezing point slightly, which keeps the texture soft rather than solid.
- Add a stabilizer. Cream cheese, heavy cream, or even a tablespoon of corn syrup helps bind water molecules and reduces iciness.
- Freeze in a shallow container. Faster freezing means smaller ice crystals.
- Whisk during the no-churn method. Skipping this step is the number one reason homemade frozen yogurt turns icy instead of creamy.
How to Store It
Homemade pumpkin frozen yogurt doesn’t have the preservatives that keep store-bought versions soft for months, so a few habits make a real difference.
- Store it in an airtight container, ideally one that’s shallow and wide rather than deep.
- Press a piece of parchment or plastic wrap directly onto the surface before sealing the lid. This limits air exposure and slows ice crystal buildup.
- Keep it toward the back of the freezer, away from the door, where temperature swings happen every time it opens.
- For the best texture, eat it within 1 to 2 weeks. It’s still safe to eat longer, but the texture gets icier over time.
Basic Variations to Try
Once you’ve got the base down, it’s easy to switch things up depending on what you’re craving.
- Pumpkin cheesecake style: Swap in cream cheese instead of heavy cream, and swirl in a bit of graham cracker crumbs before freezing.
- Dairy-free version: Use a thick coconut milk yogurt in place of Greek yogurt.
- Crunchy add-ins: Fold in crushed gingersnaps, chopped pecans, or toasted pepitas during the last few minutes of churning.
- Caramel swirl: Drizzle a thin layer of caramel sauce between scoops as you pack the container.
- Spice it up: Add a pinch of ground ginger or cardamom alongside the pumpkin pie spice for a deeper flavor.
Ready to Make Your Own Batch?
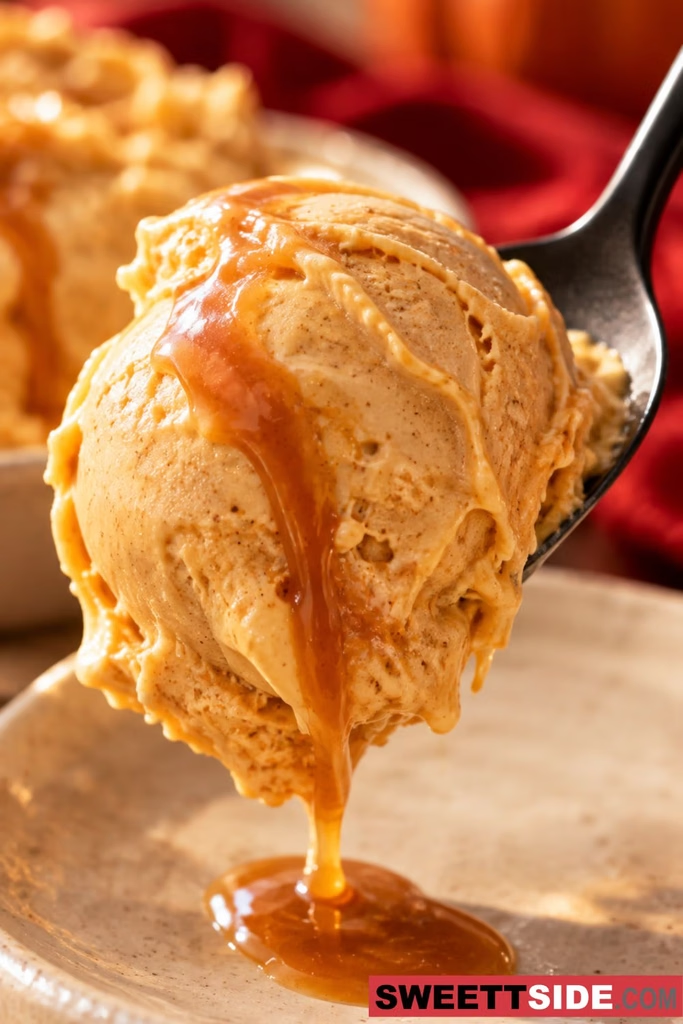
One of the most interesting things about making pumpkin frozen yogurt is that it appears to be a complex recipe but it is quite simple to make. The only thing that is needed to make it is to mix certain ingredients, freeze them, and stir them for several times.
First try the basic recipe and then move on to experiment with the suggested variations depending on your preference. Make sure to pay attention to which changes were the most beneficial in your case as this will help you in making the dessert even tastier next time around.